To send email from your own domain (you@yourcompany.com) you must let ColdSend host the DNS records that prove you own it (SPF, DKIM, DMARC).
The fastest way is to delegate the domain to ColdSend’s name-servers. After a 2-minute change at your registrar, we handle all authentication records for you and keep them rotated automatically.
Step 1 – Add the domain in ColdSend
-
Log in to
https://cloud.coldsend.pro -
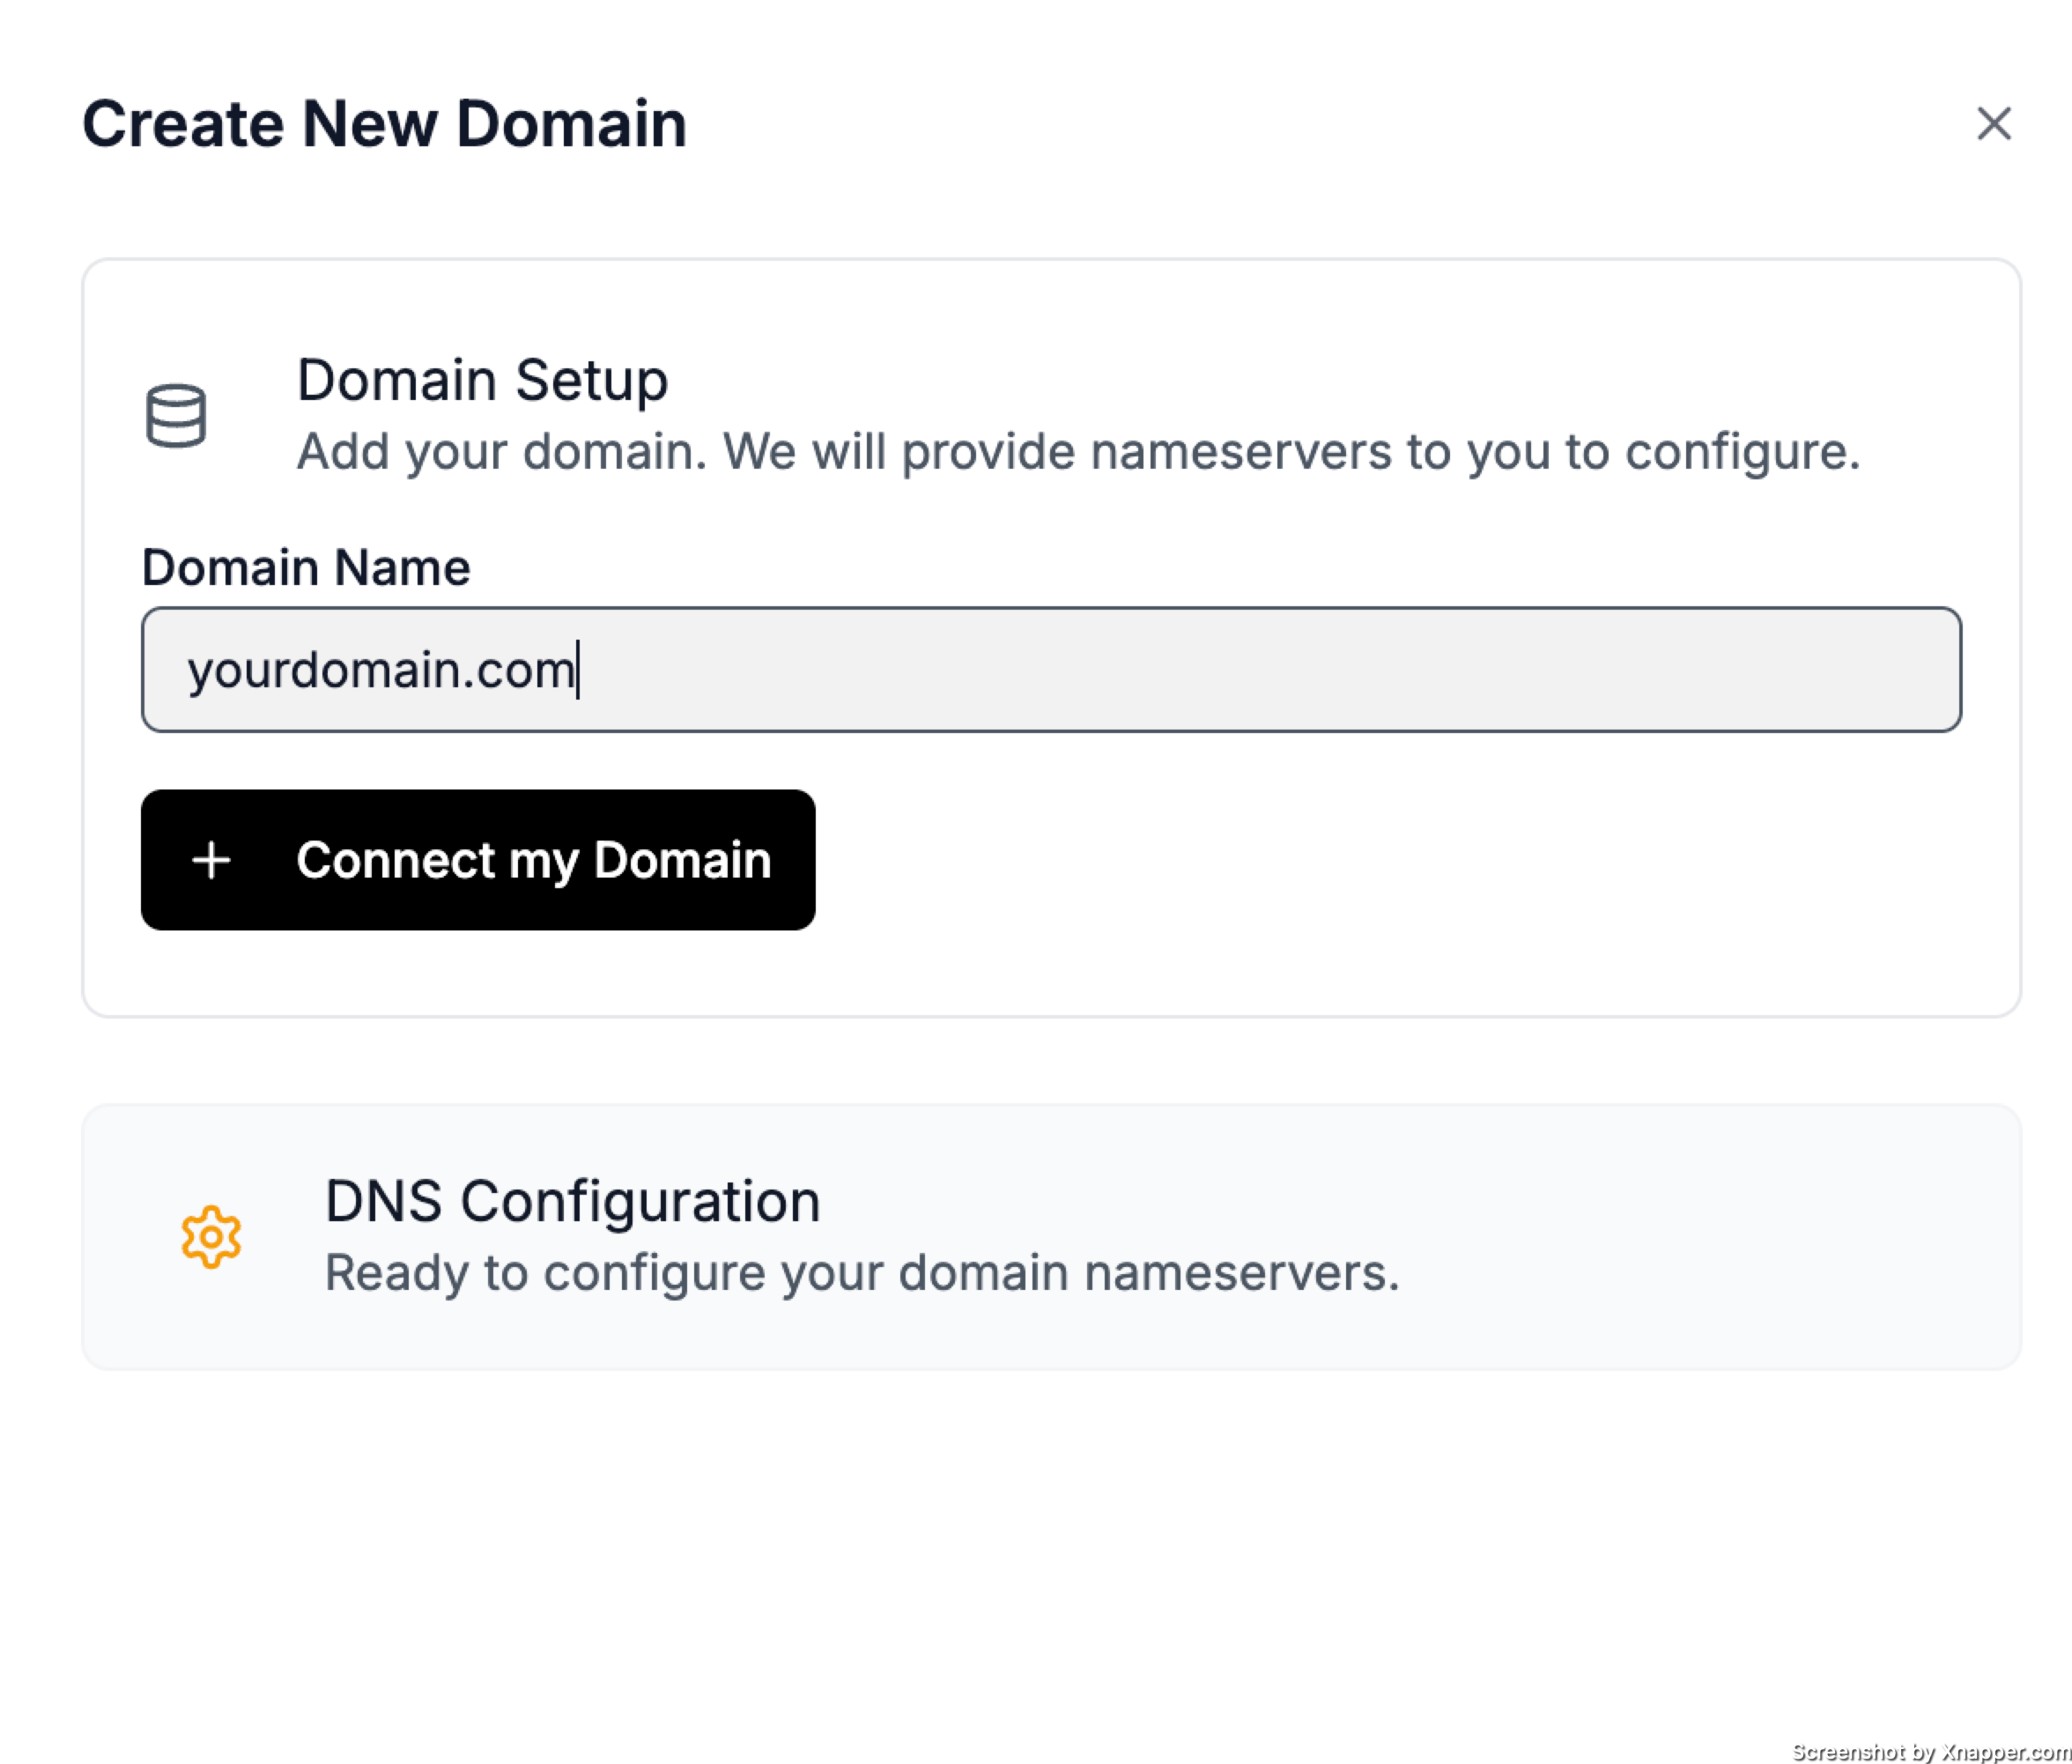
In the left menu click Domains → Create new domain (Note: You have to be subscribed to a plan to do this step)
-
Type the root domain you want to send from (e.g.
coldsend.pro) and press Add -
Click the blue “Connect my domain” button that appears
A sidebar opens showing the two ColdSend name-servers you must use:
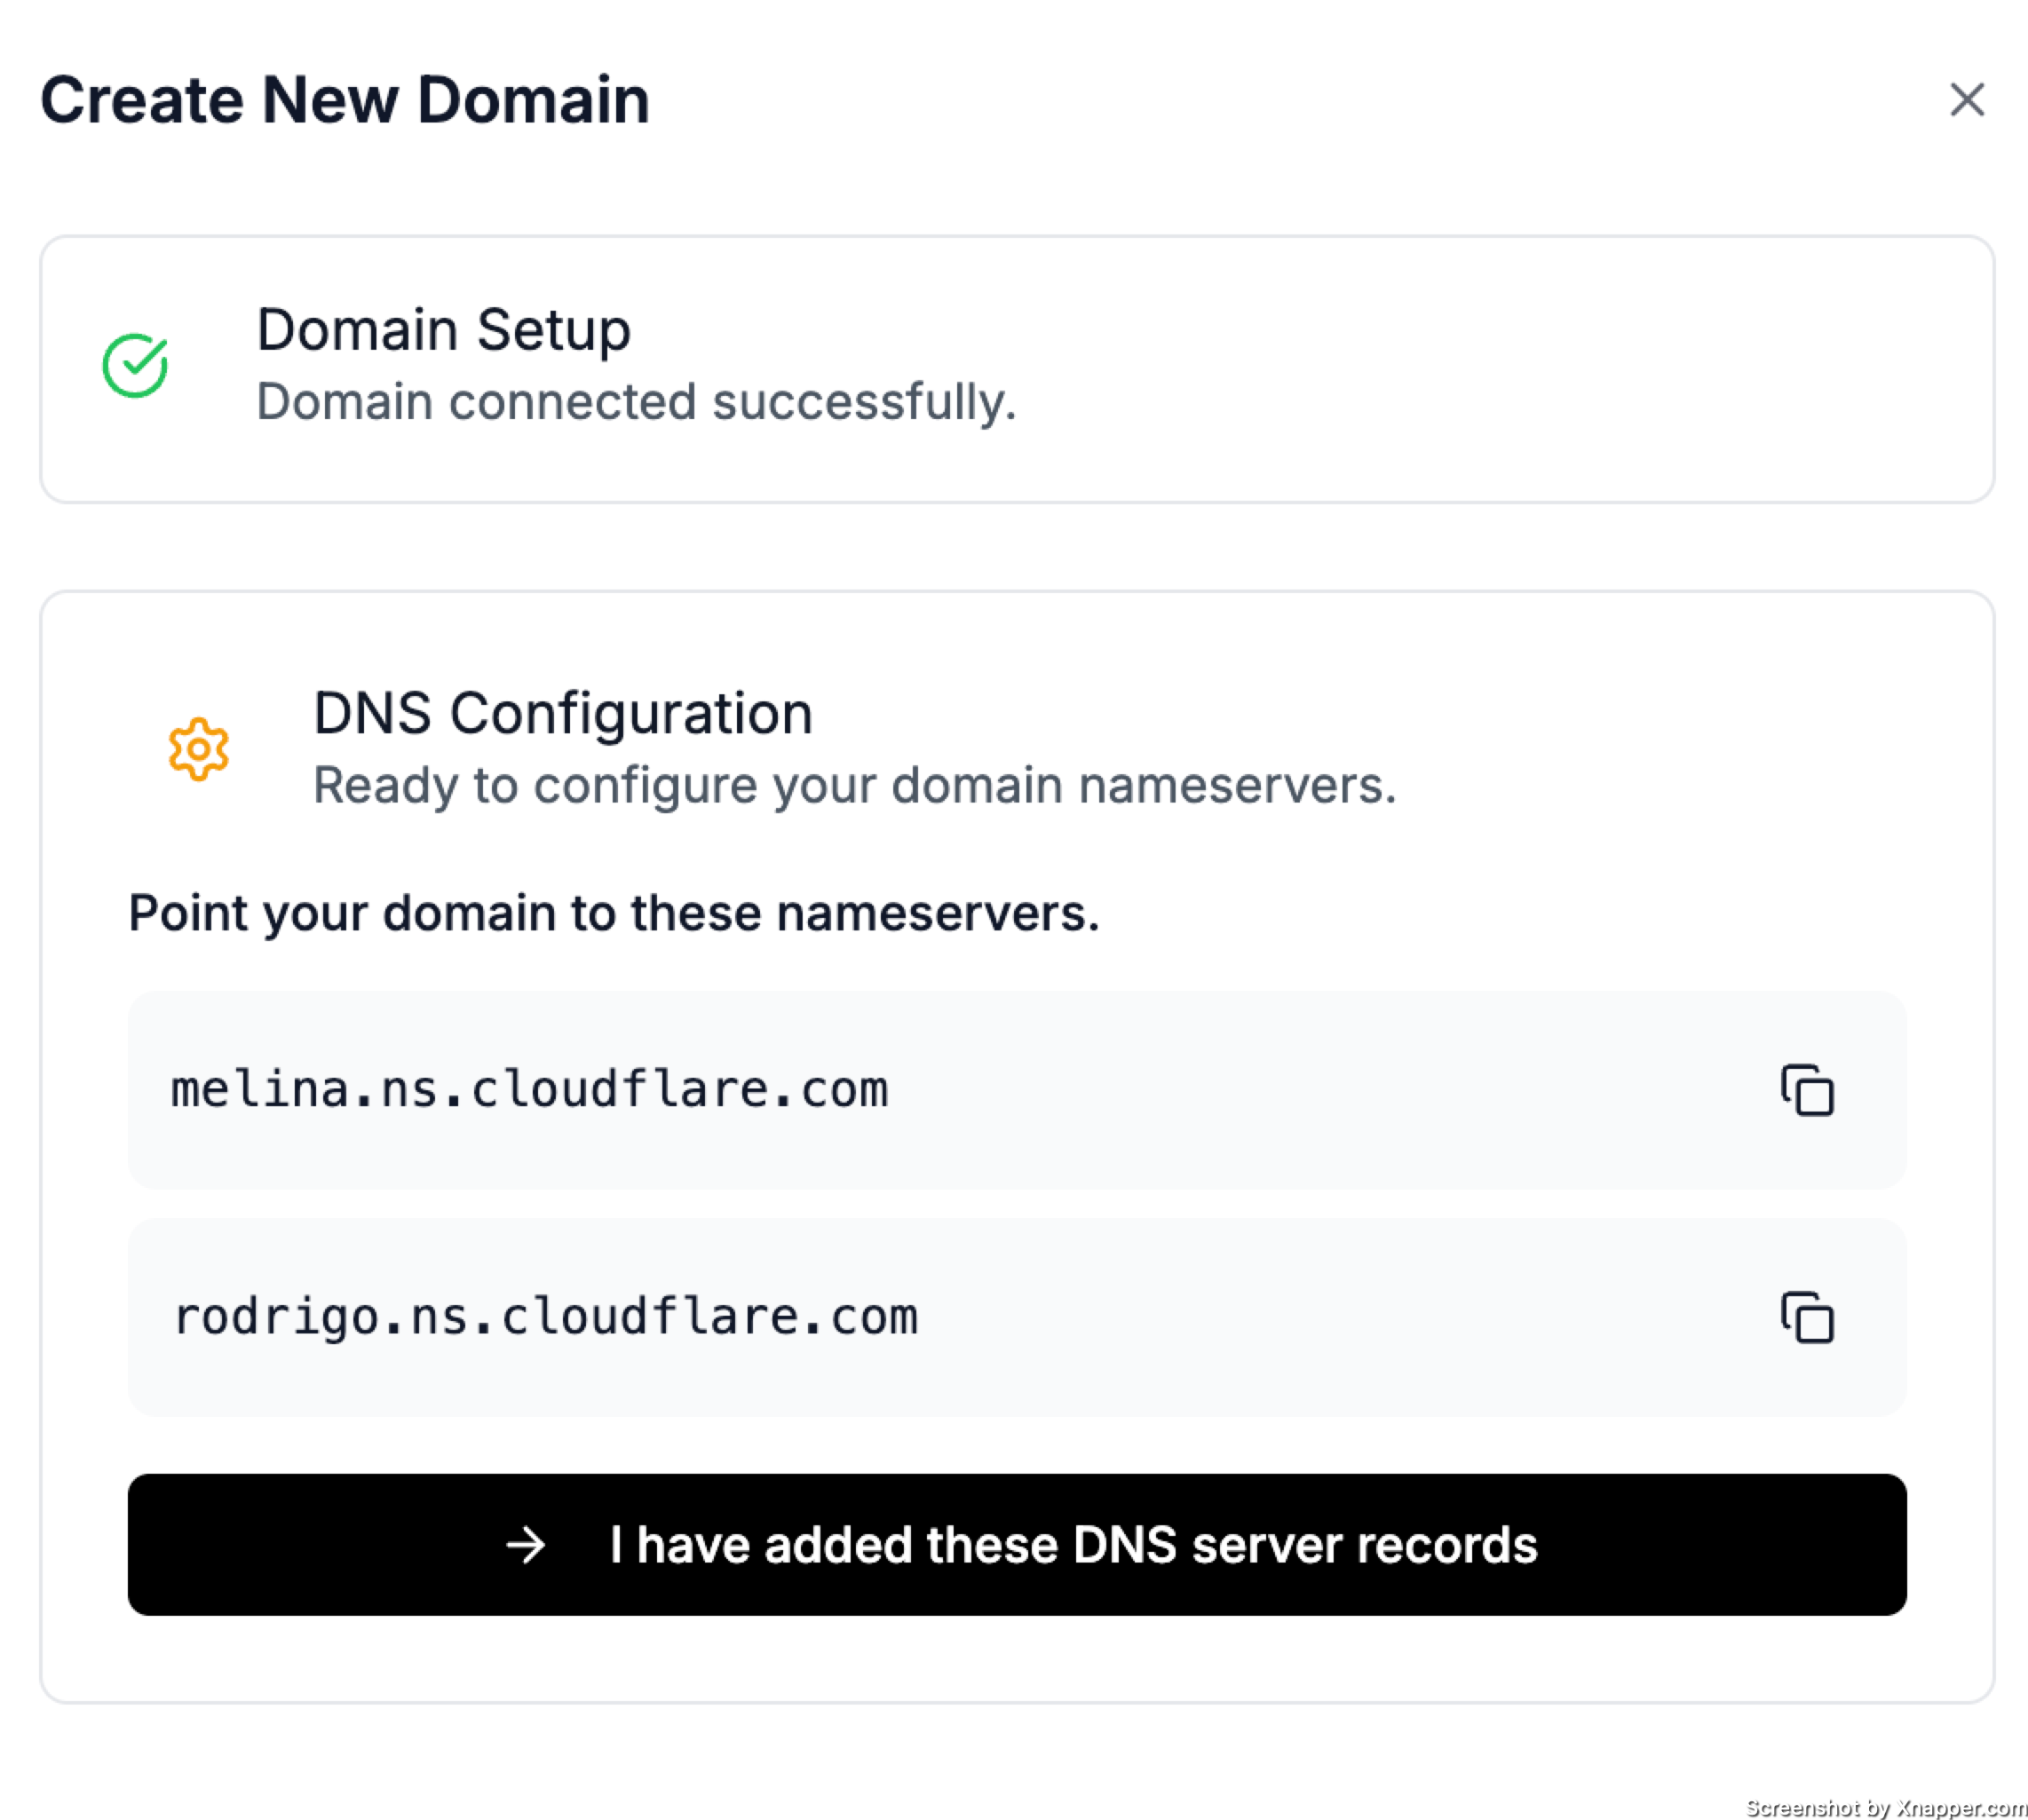
Keep this page open — you’ll copy those values in the next step.
Step 2 – Change name-servers at your registrar
Open your domain provider’s dashboard in a new tab and replace the existing name-servers with the two above. Choose your registrar below, click the link for the exact clicks and screenshots (opens in a new tab):
Cloudflare: Change name-servers at Cloudflare
Namecheap: Change name-servers at Namecheap
GoDaddy:
Google Domains: Switch to custom name-servers
Bluehost: Update name-servers at Bluehost
⚠️ Important
-
Only the name-server fields need to be changed — leave all other DNS records empty; we will re-create the ones you need.
-
If the domain already has a website, open a support ticket first so we can copy over the A-records before you switch.
Step 3 – Wait for verification
Return to the ColdSend Domains page.
Status will change from “Verifying” → “Active” once our system sees the new name-servers (usually within 5 minutes, occasionally up to 2 hours).
If the status is still “Verifying” after 24 hours, email us at hello@coldsend.pro and we’ll check it manually.
That’s it, your domain is ready!
You can now create mailboxes and start campaigns; SPF, DKIM and DMARC are already configured and will be kept valid automatically.